You understand how to do laundry and the best way to choose the perfect dryer settings on your garments. Heck, you even know the distinction between dryer sheets and dryer balls. You’re well-versed within the artwork of laundry, however hastily, the conventional settings don’t appear to be doing the trick. Your garments are popping out moist or damp, or taking for much longer to dry than regular. Face it: You’re coping with a dryer not drying.
In case your dryer is beneath a decade outdated—that’s, on common, how lengthy washers and dryers final—don’t rush to switch it with the newest and finest washer and dryer set. There could also be a number of the explanation why you’re coping with a dryer not drying garments correctly, and lots of of them are immediate fixes you are able to do with out the assistance of an knowledgeable.
In the event you discover any of the next points, there’s a good probability your dryer just isn’t working correctly: The dryer just isn’t heating. It’s not turning on or beginning. It’s not tumbling. Or it makes a whole lot of noise. “Generally, you might not discover any of those telltale indicators of a damaged dryer, however you’ll discover that your garments come out of the dryer nonetheless moist or extraordinarily sizzling to the contact,” says Gary Childers, a material care scientist and equipment knowledgeable with Procter & Gamble. “That is one other indicator that your dryer is malfunctioning.”
Steps to take in case your dryer isn’t drying your garments
 Ariel Skelley/Getty Photos
Dryer not drying your garments? There are a handful of causes your machine isn’t doing its job. By taking the steps beneath, you may rule out potential issues, decide why your dryer just isn’t drying, and learn the way to repair it.
1. Be certain it isn’t overloaded
One of the crucial frequent solutions to the query “Why is my dryer not drying” can be one of many best to repair. The difficulty: You’re packing means too many gadgets into the dryer. “You will need to ensure that the dryer just isn’t being overloaded,” says Childers. “Overloading the dryer may cause points with drying efficiency and noise when an excessive amount of weight is contained in the dryer.”
Once you squeeze too many garments into the dryer (an try to do fewer a great deal of laundry, little doubt), you lower the airflow wanted to correctly dry garments, which could clarify why your garments come out sizzling however not dry. Overloading additionally makes the dryer work more durable, makes use of extra vitality, and will increase drying time. Childers suggests by no means filling the dryer drum greater than three-quarters full.
2. Test the settings
Utilizing the mistaken setting to dry your laundry can positively affect the time it takes to dry garments. For instance, if you choose the air-dry setting or light cycle for a load stuffed with denims, towels, and sheets, your laundry might come out damp since you selected a too-low setting. In any case, it’s one factor to know the best way to wash towels; it’s one other to know the precise setting for drying them.
To be sure you’re not utilizing an excessive amount of or too little warmth, take note of the laundry symbols in your clothes. They’ll clarify what dryer setting is finest.
3. Clear the filter
Shawn Ashby, a laundry model supervisor with Whirlpool, suggests checking the dryer lint filter. Certain, you realize you must clear it recurrently, however do you really do it? Lint blocking the airflow of the dryer is a standard offender behind dryers not drying.
Failing to scrub lint out of the dryer’s filter isn’t simply getting in the best way of drying your garments. It’s additionally the main reason for dryer fires, warns the U.S. Fireplace Administration.
“We advocate ensuring the lint display screen is clear and that you simply clear the display screen earlier than each use,” Ashby explains. “Moist lint is more durable to take away, so don’t scrub or use water.”
Begin by eradicating the display screen by pulling it up, then gently take away the lint from the display screen by hand and put the lint lure again. “In the event you discover lint amassing on areas of the display screen or plugging the mesh, the display screen could also be tougher to scrub by hand,” says Ashby. That’s the place a heavier cleansing is available in.
Each six months, do a deep cleansing of the lint display screen. Right here’s the best way to accomplish that in 4 straightforward steps:
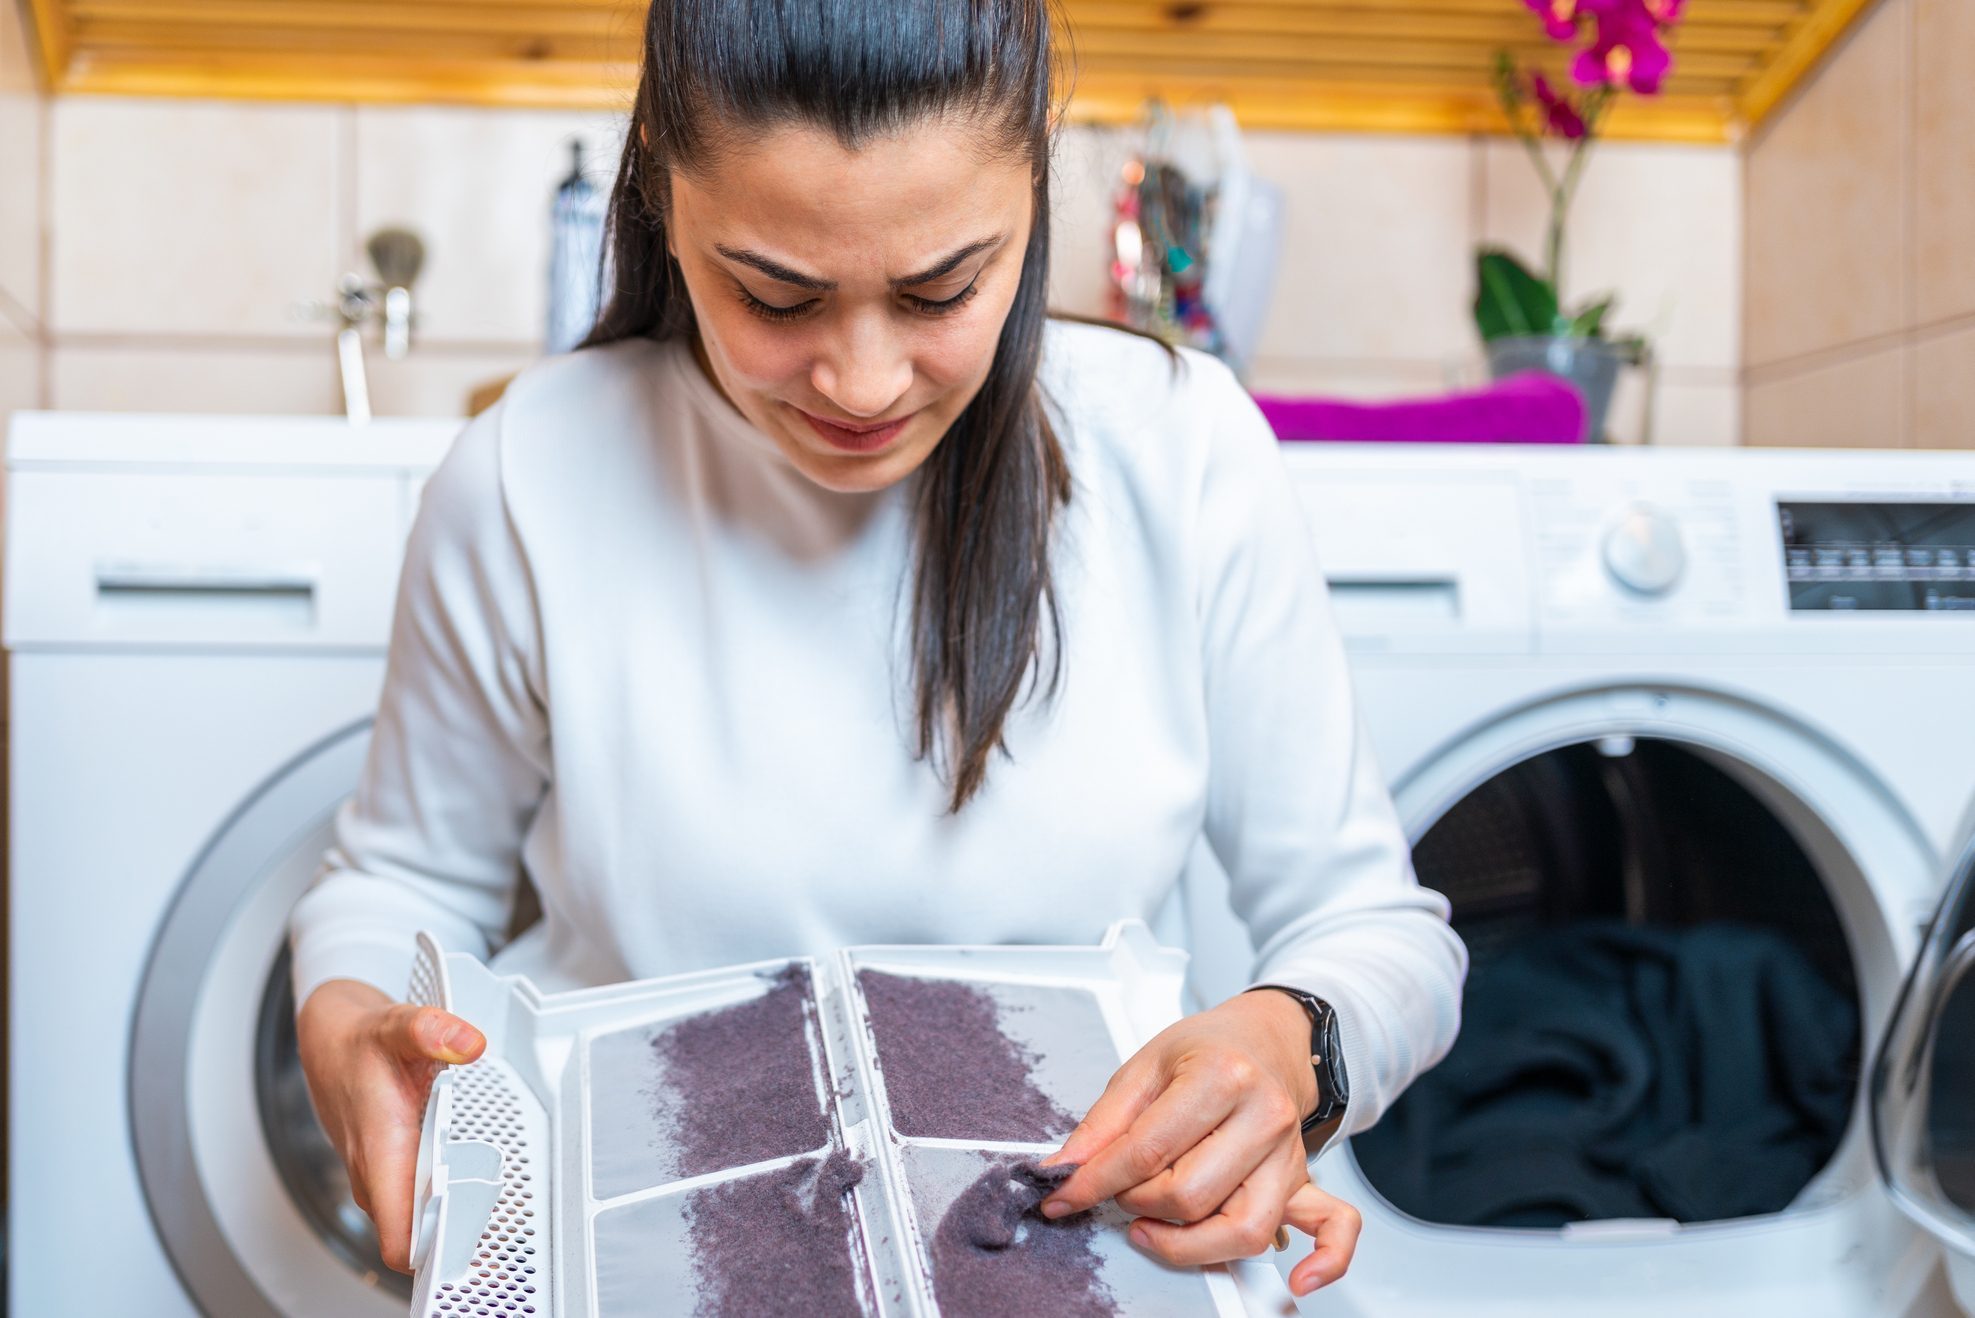 aquaArts studio/Getty Photos
- Roll the lint off the display screen.
- Moist each side of the display screen with sizzling water.
- Scrub with a nylon brush, sizzling water, and liquid detergent to take away any buildup.
- Rinse with sizzling water and dry completely.
4. Test the exterior dryer vent
One other place lint can block airflow is the vent on the surface of the home the place dryer air exits. In case your machine is working correctly, an unobstructed stream of sizzling air will exit the vent when it’s working. “Your dryer’s exhaust vent could also be clogged if dry occasions are lagging, garments aren’t getting dry, or you may’t really feel air shifting via the surface vent,” says Ashby.
Cleansing your dryer vent is important. It can save you cash by cleansing the vent your self, however in case you can’t discover or entry your dryer duct and outdoors exhaust fan (or in case you’re not assured in your DIY talents), schedule a service appointment.
5. Clear deep contained in the vent
When you have cleaned out the lint filter or you may’t really feel the air shifting via the surface vent, it’s potential there’s lint buildup deeper inside the vent. “We advocate eradicating lint from all the size of the vent system no less than each two years,” says Ashby.
In the event you’re not in a position to schedule a service appointment, you are able to do it your self by buying a vent cleansing package and observe these important steps.
- Find your dryer’s exhaust vent and take away the plastic cowl that protects the top of the vent.
- Unplug your dryer’s energy provide wire. “When you have a fuel mannequin, you’ll need to shut the shut-off valve within the fuel provide line, then disconnect and cap the provision line pipe,” he says.
- Take away any tape or clamps holding the exhaust vent pipe to the vent on the again of your dryer.
- Push the comb out of your dryer cleansing package as gently and so far as potential into both finish of your dryer duct. Be certain to observe any turns or corners.
- Clear up any lint that comes out the other facet of the duct, then reconnect the vent pipe and energy wire and/or fuel provide.
- Slide your dryer again into place and run an empty dryer cycle for ten to fifteen minutes to blow out residual mud and ensure that the vent is clear.
6. Be certain the vent system is put in appropriately
If the dryer’s not drying after that, Ashby recommends checking the set up directions from while you initially put in your dryer to substantiate that you simply put in the dryer vent system appropriately. “For instance, you’ll need to ensure that the vent system falls throughout the really helpful run size and variety of elbows for the kind of vent that you simply’re utilizing,” he says.
It additionally issues what sort of vent you employ. “Be sure you solely use inflexible metallic or versatile metallic vent materials,” says Ashby. “Inflexible metallic vents are really helpful for finest drying efficiency and to keep away from crushing and kinking.”
If a kinked or crushed vent can spell bother. “Kinked or crushed exhaust vent materials slows moist air from leaving the dryer and extends drying time,” he says. “Change any plastic or metallic foil vent with inflexible or versatile heavy metallic vent. The dryer vent needs to be put in 4 inches away from the wall. You’ll need to be sure that the vent just isn’t crushed or kinked.”
7. Clear the sensor
Some dryers detect moisture via sensor bars throughout the dryer, notes Childers. Many machine producers advocate cleansing the sensors to get correct moisture detection. “If these should not cleaned, the dryer may take longer to dry the garments,” he factors out. Discuss with your consumer guide for particular producer directions.
8. Be certain the dryer is in a ventilated area
In line with Ashby, probably the most frequent causes for a dryer not drying garments correctly is that it’s positioned in a closet too small for the equipment. “If put in in a closet, the closet doorways should have air flow openings on the high and backside of the door,” he says. “The entrance of the washer/dryer requires a minimal of three inches of airspace, one inch on the edges. And for many installations, the rear of the washer/dryer requires 4 inches.”
Unsure whether or not your area is an effective match on your particular washer? See your machine’s set up directions for extra details about area necessities.
9. Test for warmth
Be certain warmth is working by turning on the dryer for 5 to 10 minutes. “Maintain your hand beneath the surface exhaust hood to verify air motion,” says Ashby. “If the air motion is lower than a hair dryer on excessive pace, clear the lint from all the size of the system and the exhaust hood.”
Is your dryer not heating however in any other case working? When there’s no warmth however the machine spins, it could possibly be a difficulty with the heating factor or thermal fuse. On this case, you must verify your consumer guide for subsequent steps. In the event you really feel comfy changing the damaged piece your self, have at it—however verify your consumer guide for the right steps. In any other case, name in an knowledgeable.
What to do in case your dryer gained’t activate
Your dryer not drying might have much less to do with a scarcity of warmth and extra to do with the truth that you may’t get the darn factor to activate. If that’s the case, you may’ve blown a fuse or tripped a circuit.
“Earlier than inspecting the circuits, be very cautious, as there’s {an electrical} shock hazard when working with fuses and circuits,” Ashby warns.
In case your garments dryer refuses to activate, Childers and Ashby recommend following these steps.
- Be certain all buttons and cycles are chosen correctly on the controls.
- As soon as that’s accomplished, ensure that the dryer wire just isn’t frayed and is absolutely plugged in.
- Test to make sure a circuit breaker hasn’t been tripped. Reset the circuit breaker if crucial.
- Be certain each fuses are intact and tight. If not, exchange the defective fuses.
- Test the door swap. Some front-loading dryers use a door swap to inform the machine whether or not the door is open or closed. The security characteristic prevents the dryer from operating whereas the door is open. However, says Ashby, the door swap may presumably break {the electrical} circuit (as can one other malfunctioning sensor, the thermal fuse). When sensors glitch, they will trigger the dryer to cease working because it ought to. “[The door switch] can simply get replaced with just a few easy instruments,” he says.
If the steps above don’t repair the difficulty, Ashby says, “please contact a professional electrician for help.”
What to do in case your dryer begins however gained’t tumble
In case your garments dryer begins however the drum (the place the place you place your laundry) gained’t flip, it may imply a belt that helps rotate the drum is damaged or that the motor has gone unhealthy. “Discuss with your consumer guide or a licensed service technician to troubleshoot,” Childers says.
When to name an knowledgeable
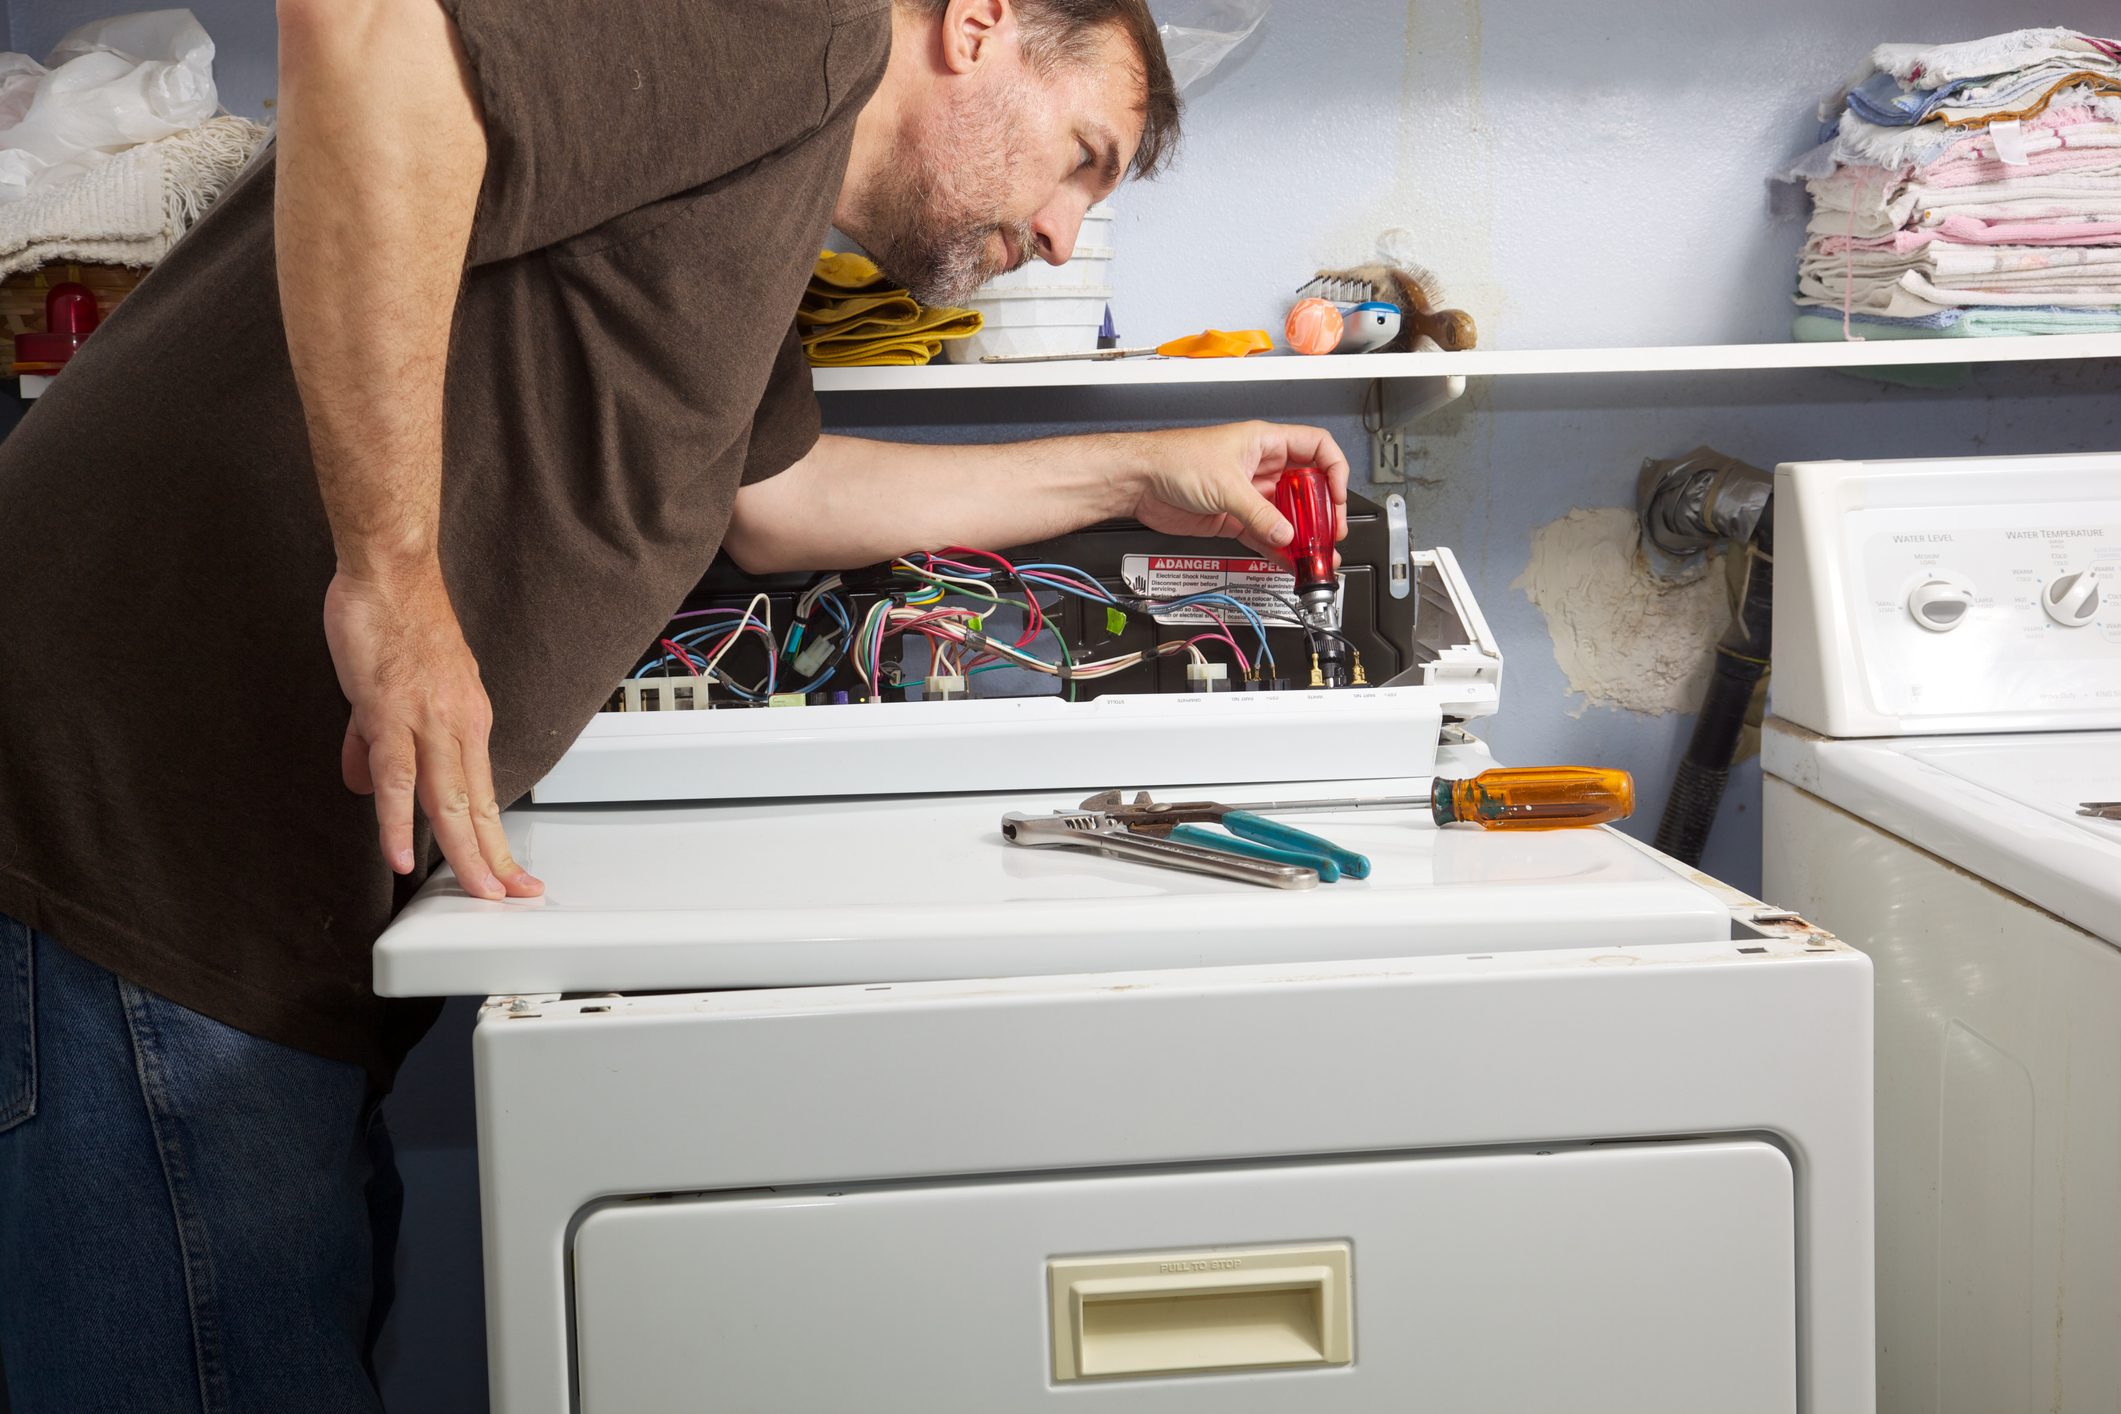 pastorscott/Getty Photos
Deal with any dryer points as quickly as potential. “The secret is to establish the issue because it begins quite than ready later to cope with the difficulty,” Ashby says. “In the event you expertise any bigger points, it’s best to go to an expert to troubleshoot and resolve the issues.”
As to when you must name within the professionals, that is dependent upon whether or not the difficulty is past your talents. In the event you can deal with the DIY repairs, you might avoid wasting cash. However in case you’re not so assured in your potential to appropriately observe how-to steps, make a name to your native restore technician.
“Going to an expert will assist to grasp the issue [and] troubleshoot and resolve it,” Ashby explains. Many equipment firms provide prolonged service plans for any equipment, which may provide help to save on repairs.
When to get a brand new dryer
Garments dryers sometimes final 10 to 13 years. “Many enhancements in vitality effectivity and clothes care happen over that point, so if a dryer reaches this age otherwise you begin to see a drop in efficiency, it might be time to consider getting a brand new dryer,” Childers says.
Many new dryers have key options, reminiscent of steam cycles (so you may ditch the steam iron), the flexibility to ship notifications to your cellphone or machine, and specialty cycles that older fashions should not designed to ship.
Subsequent, learn to clear your dryer—and the way typically to do it.
Sources:
- Gary Childers, material care scientist and equipment knowledgeable with Procter & Gamble
- Shawn Ashby, laundry model supervisor with Whirlpool
- U.S. Fireplace Administration: “Garments Dryer Fireplace Security Supplies”